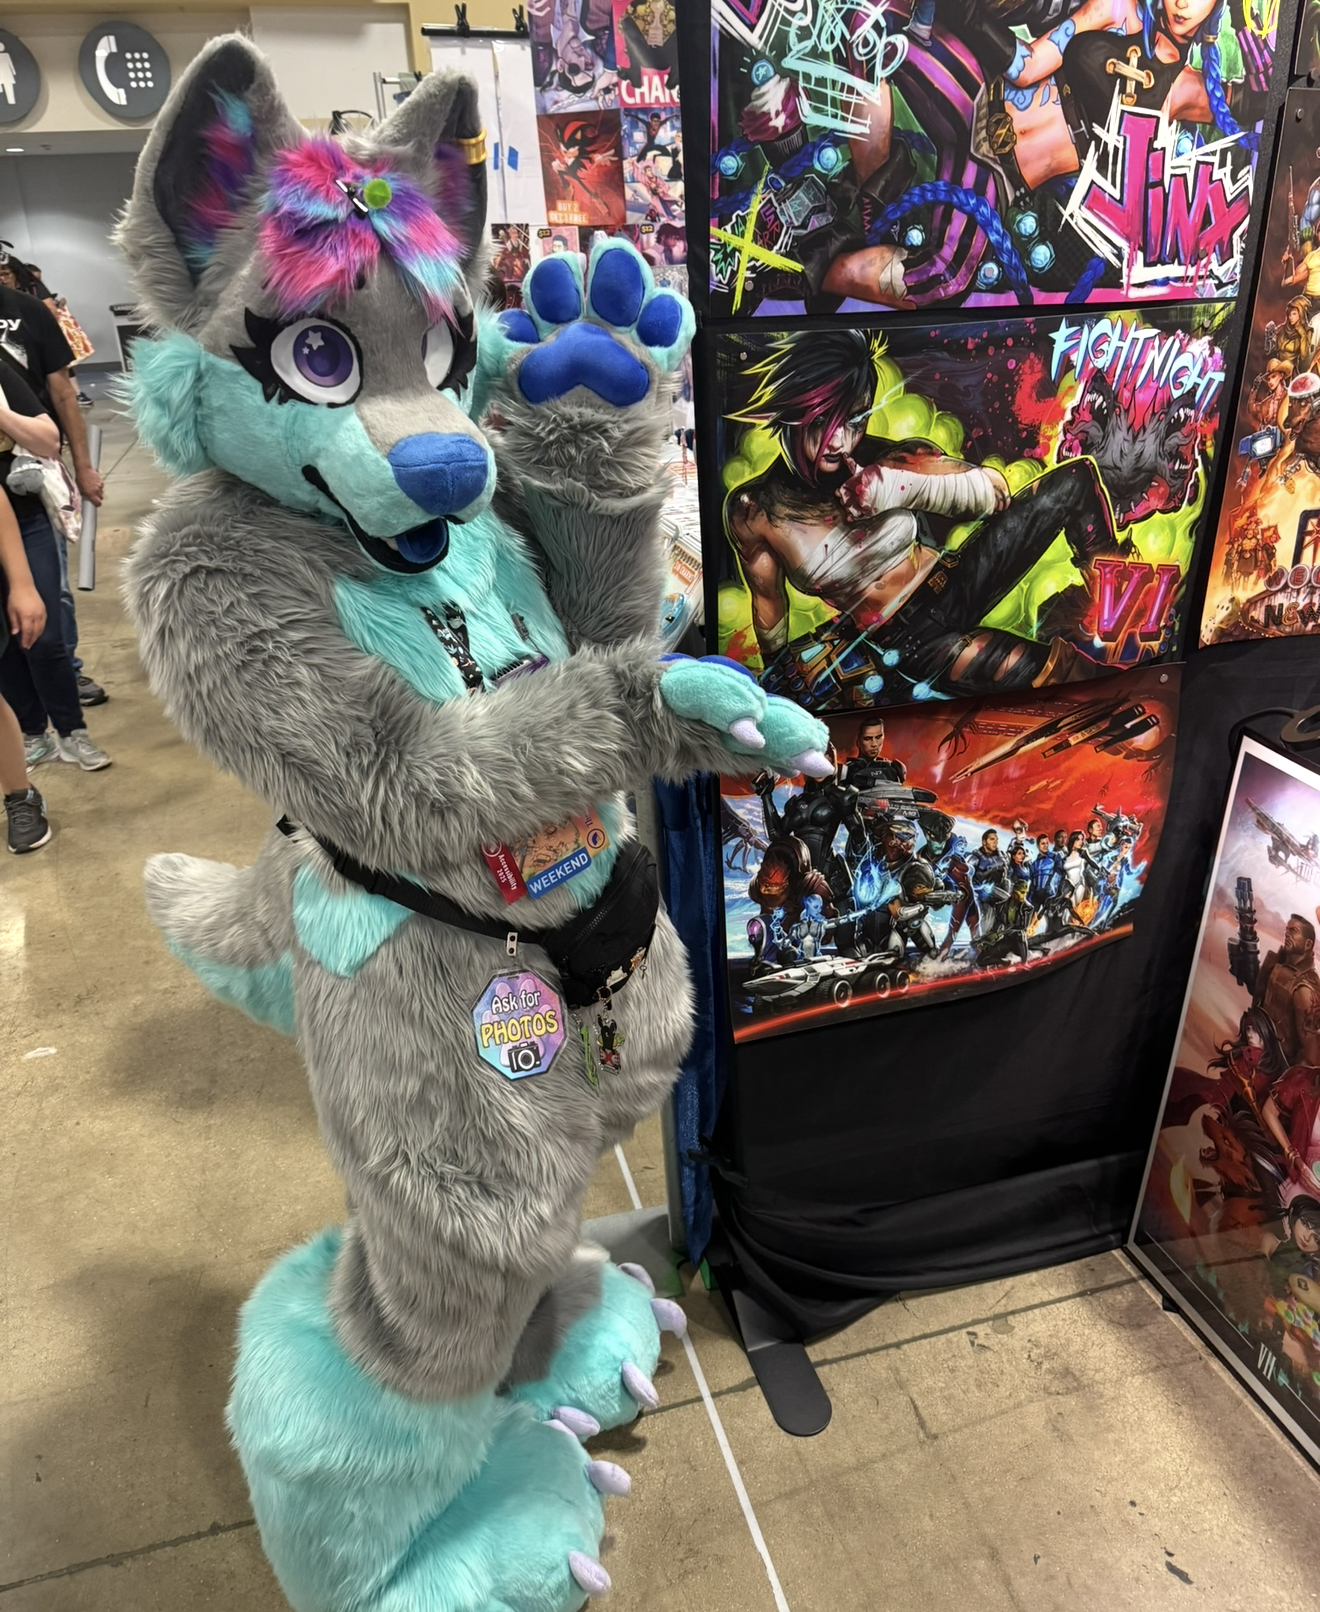
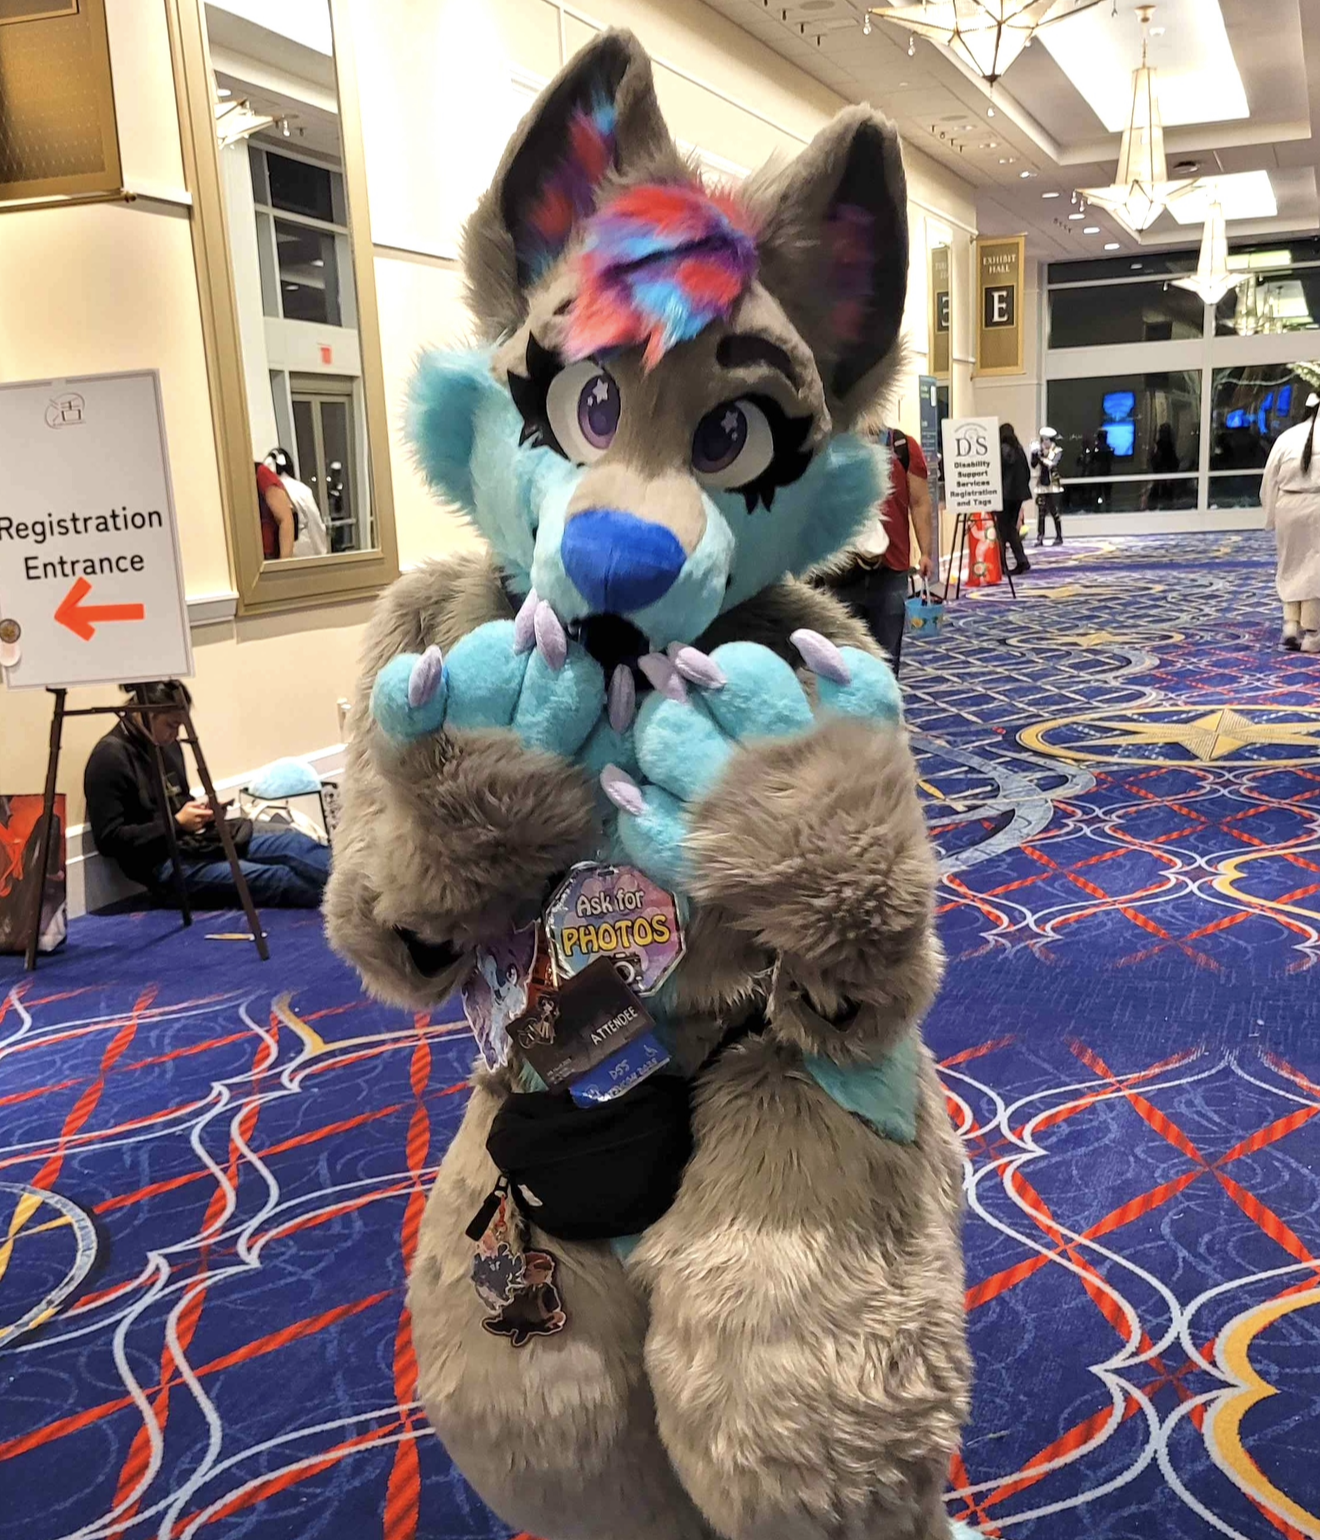
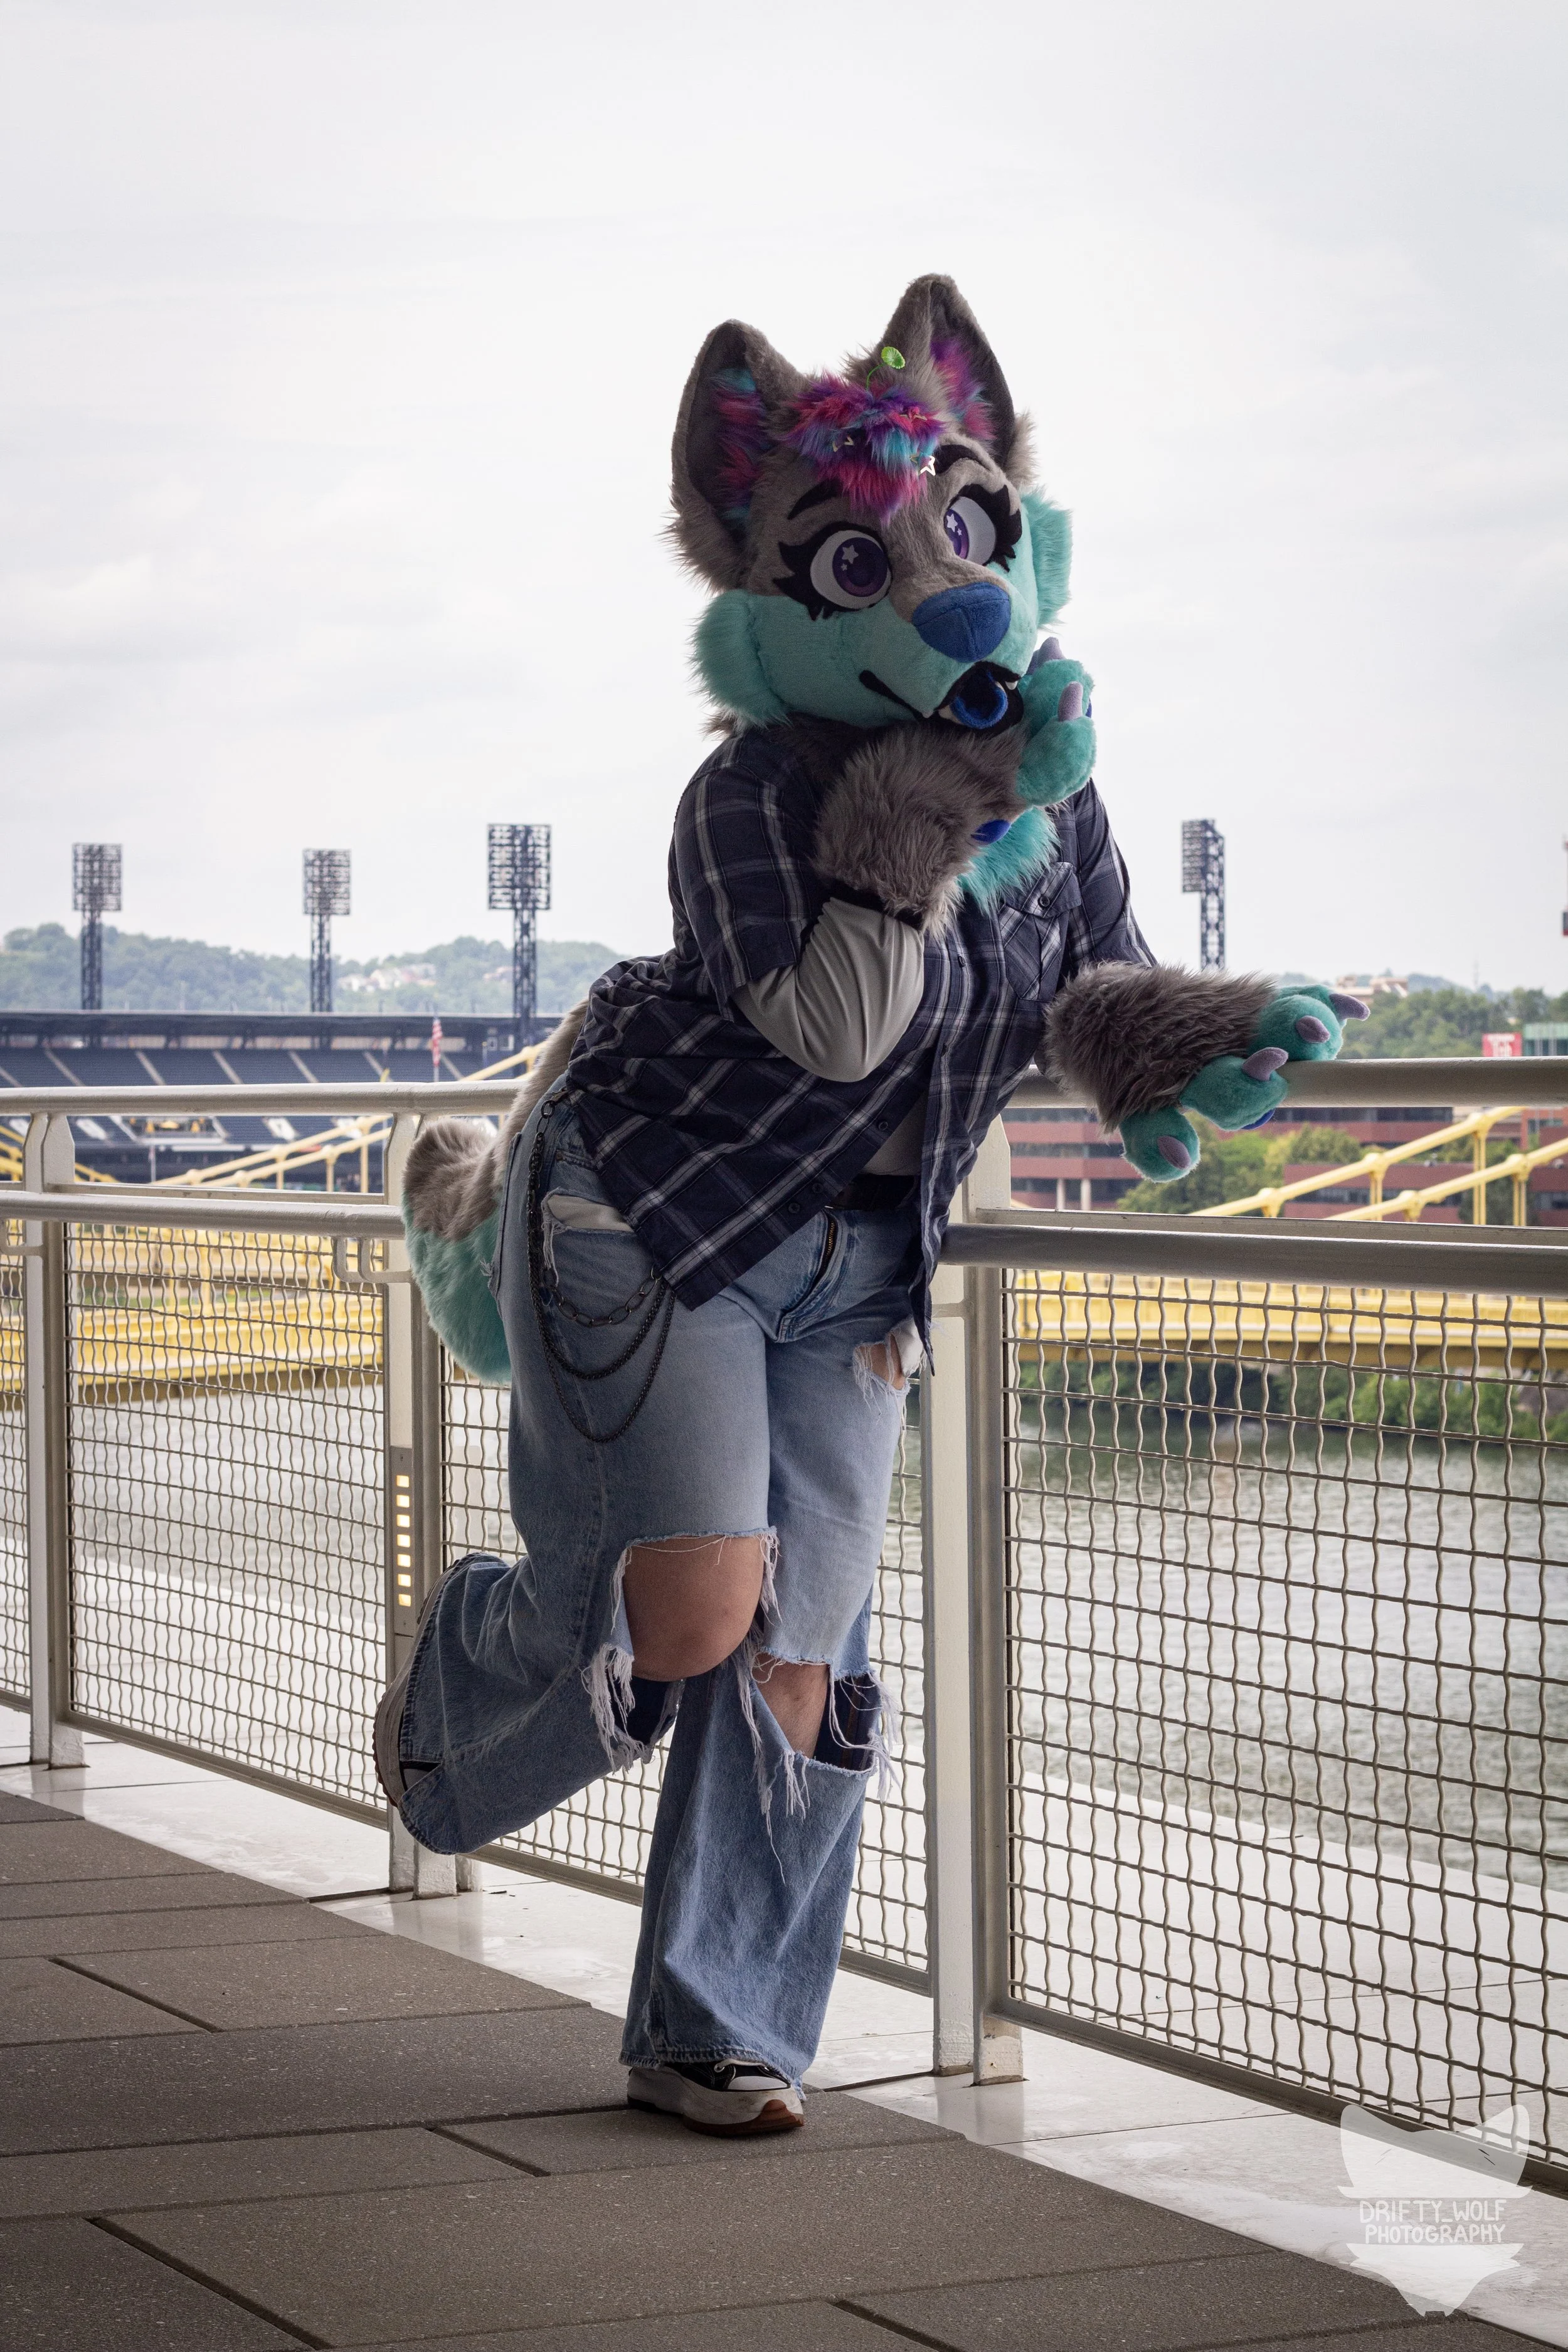
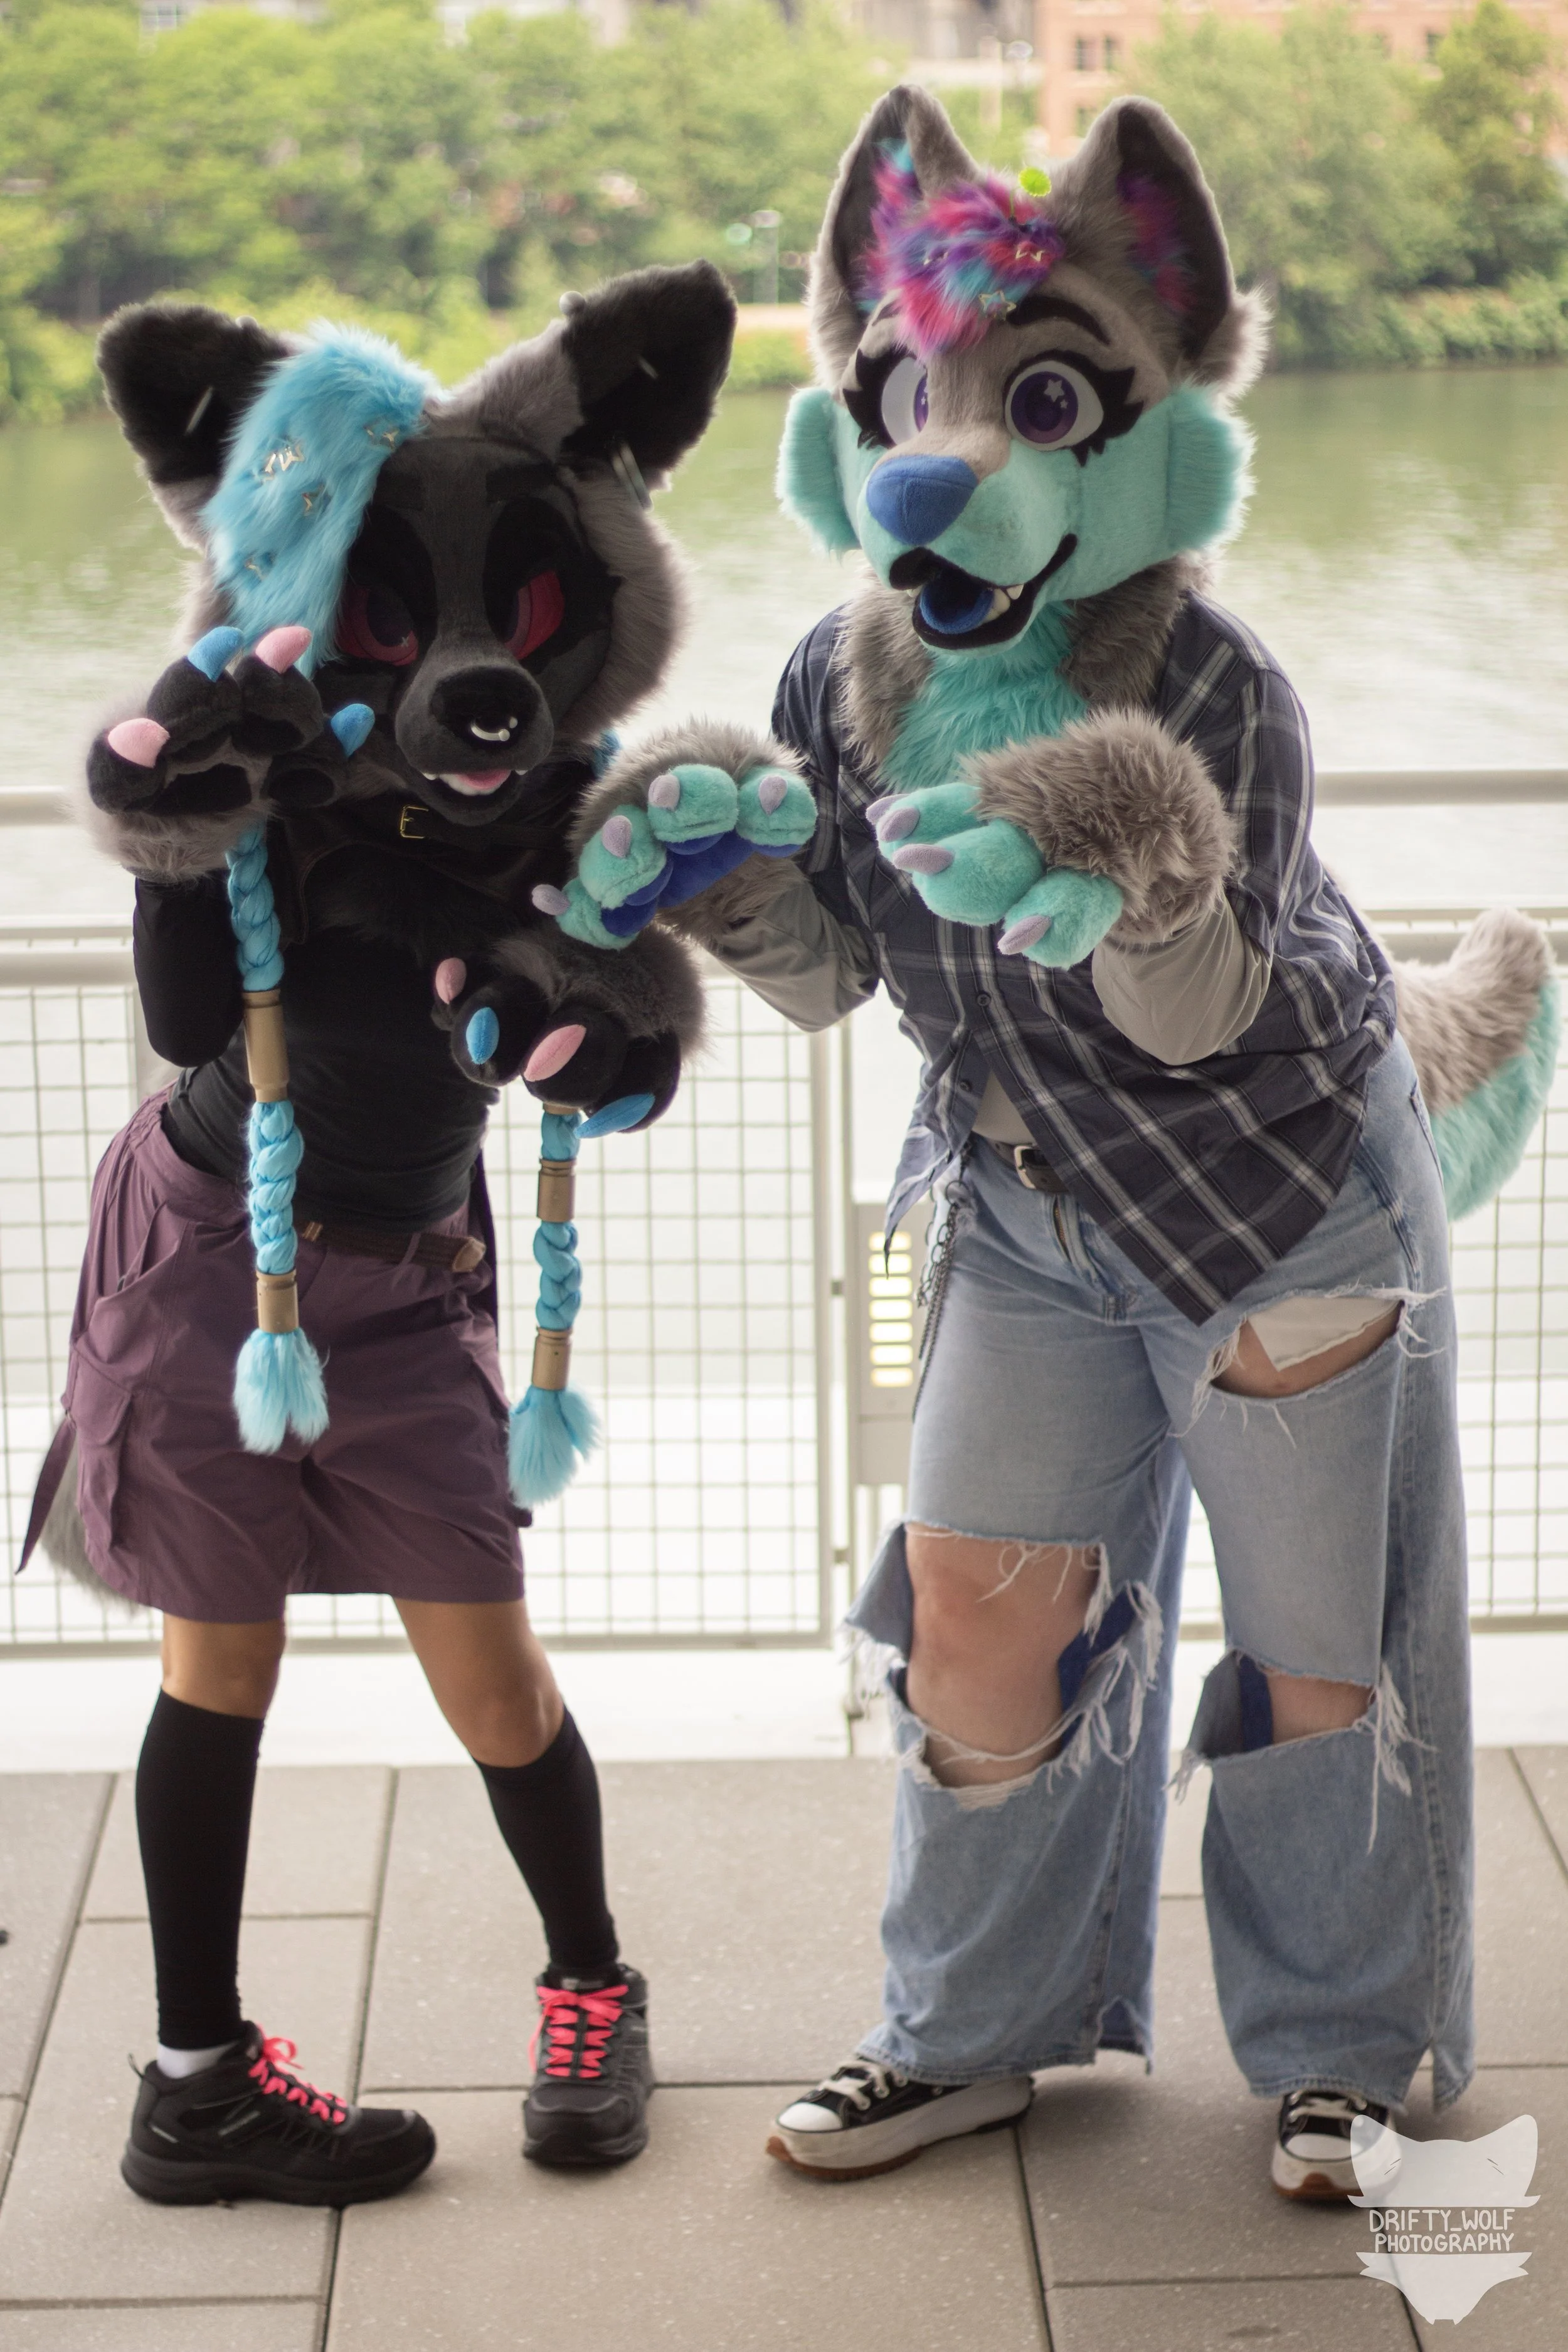
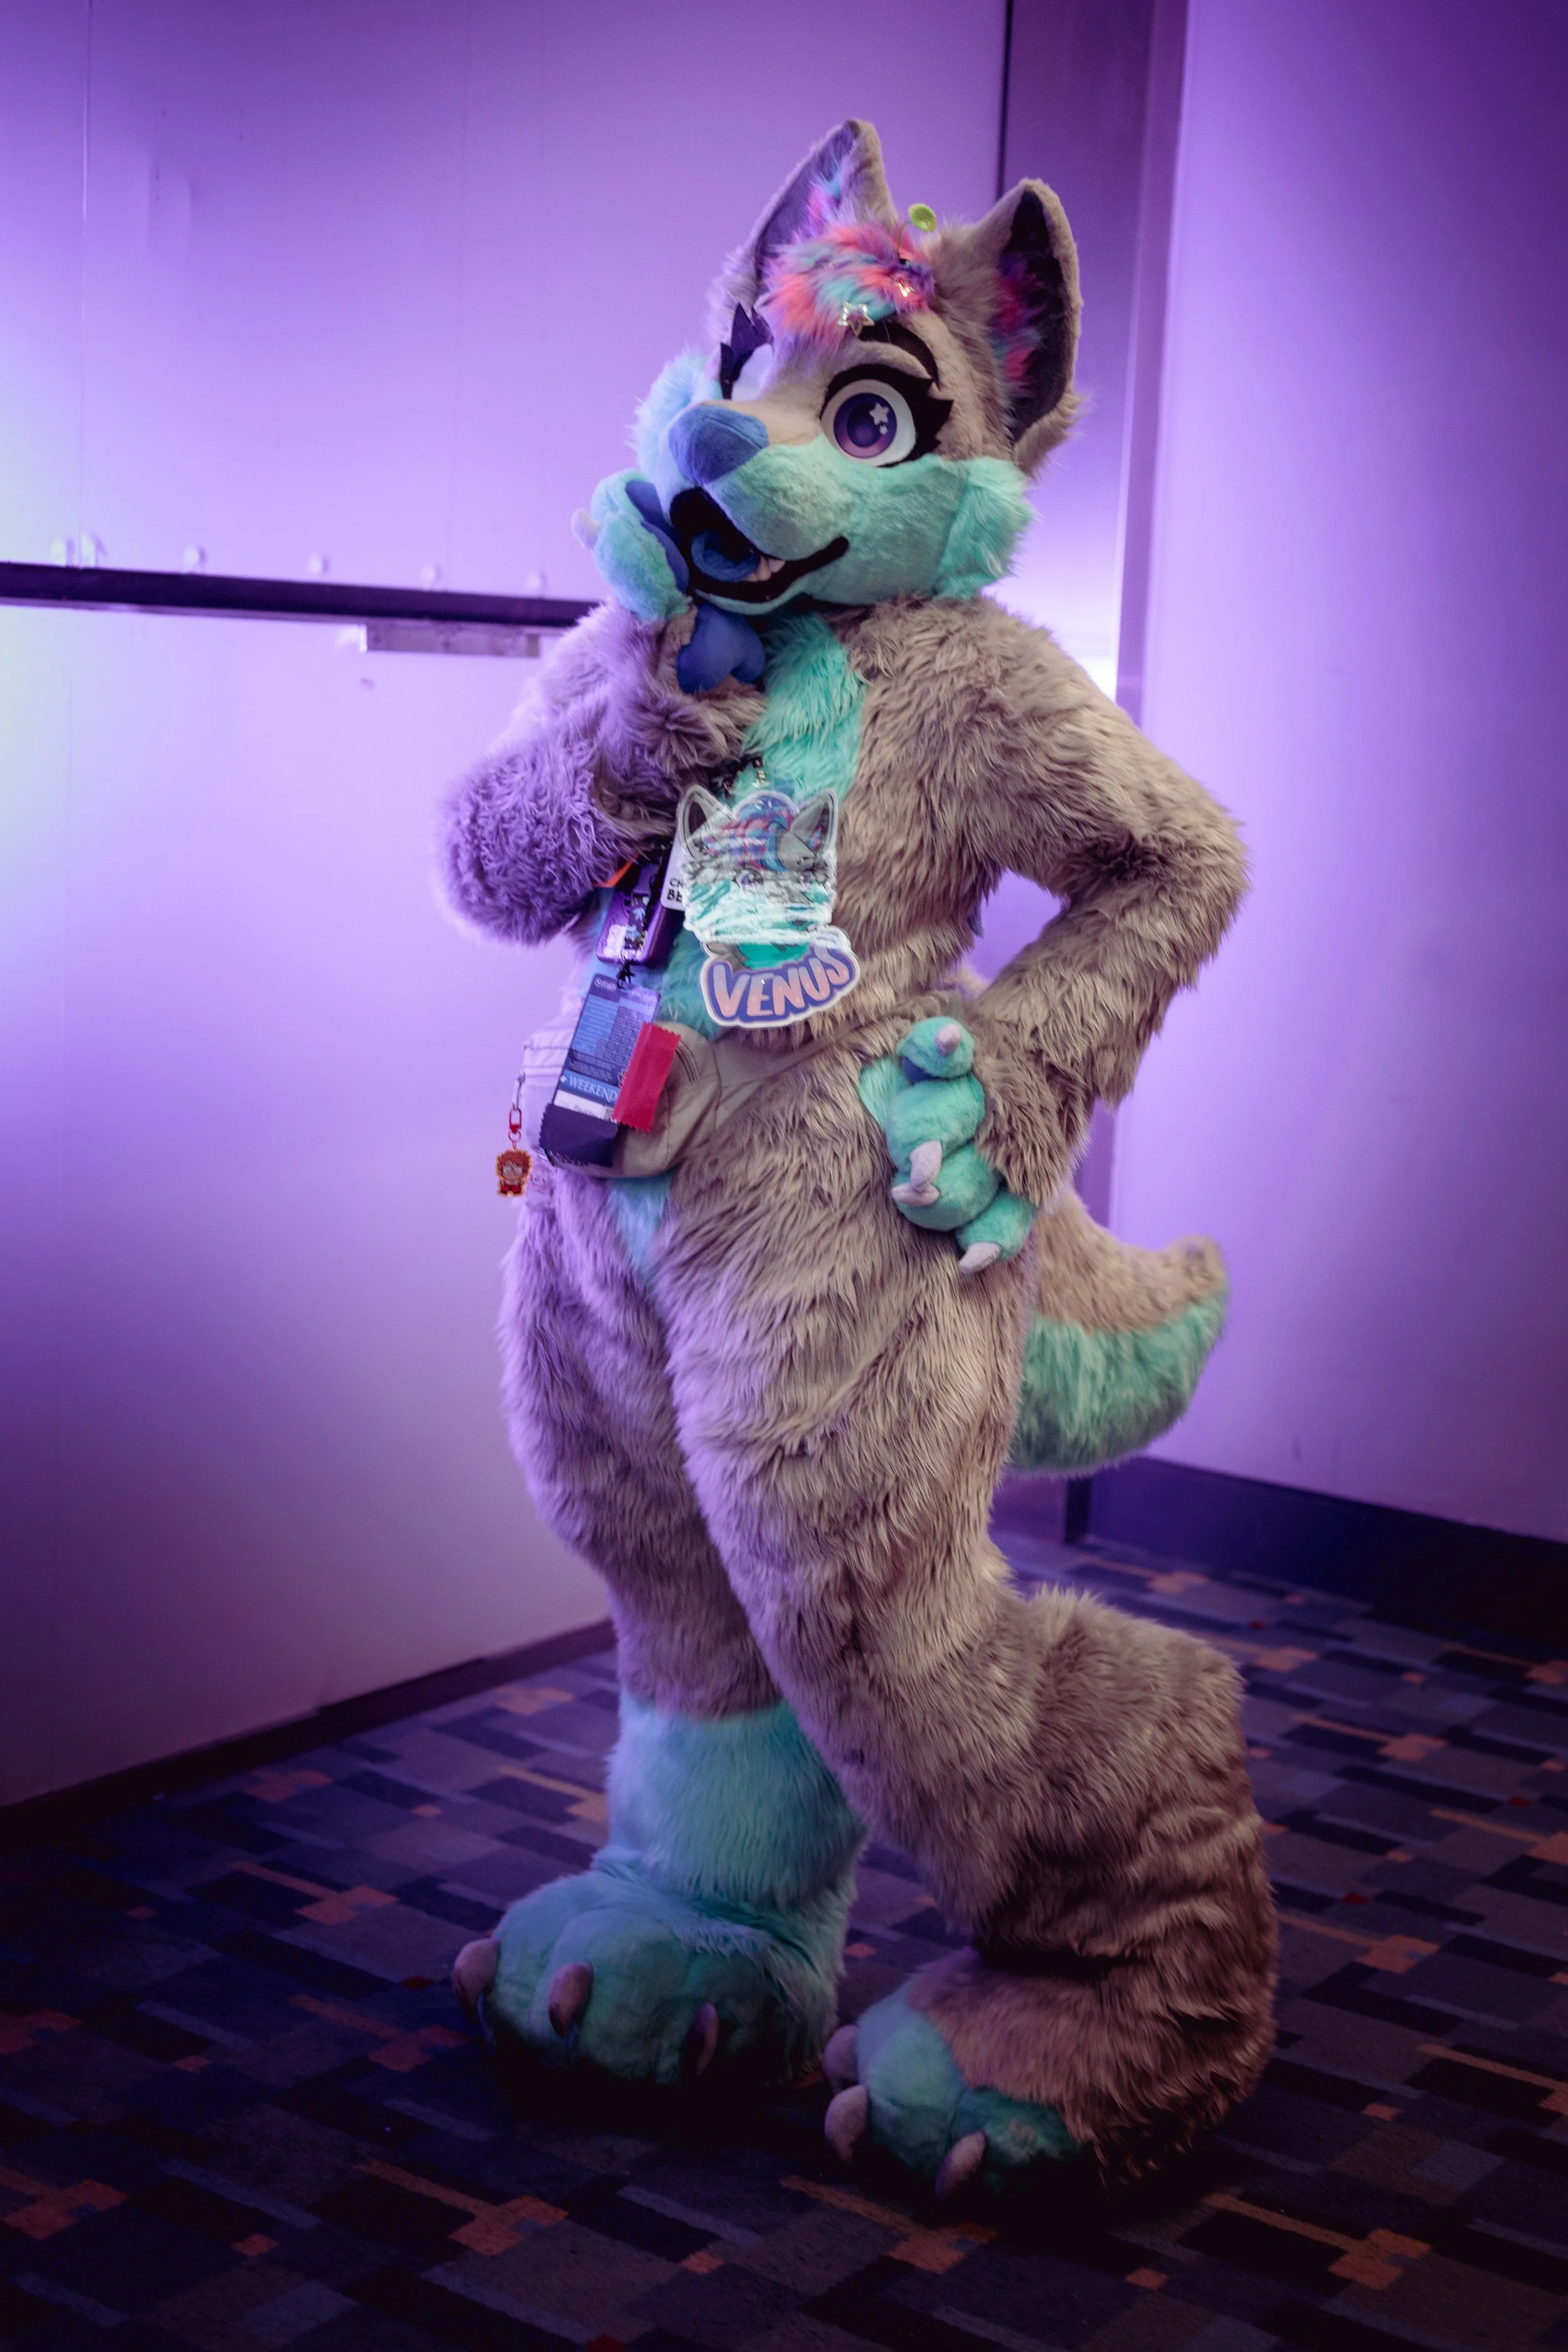
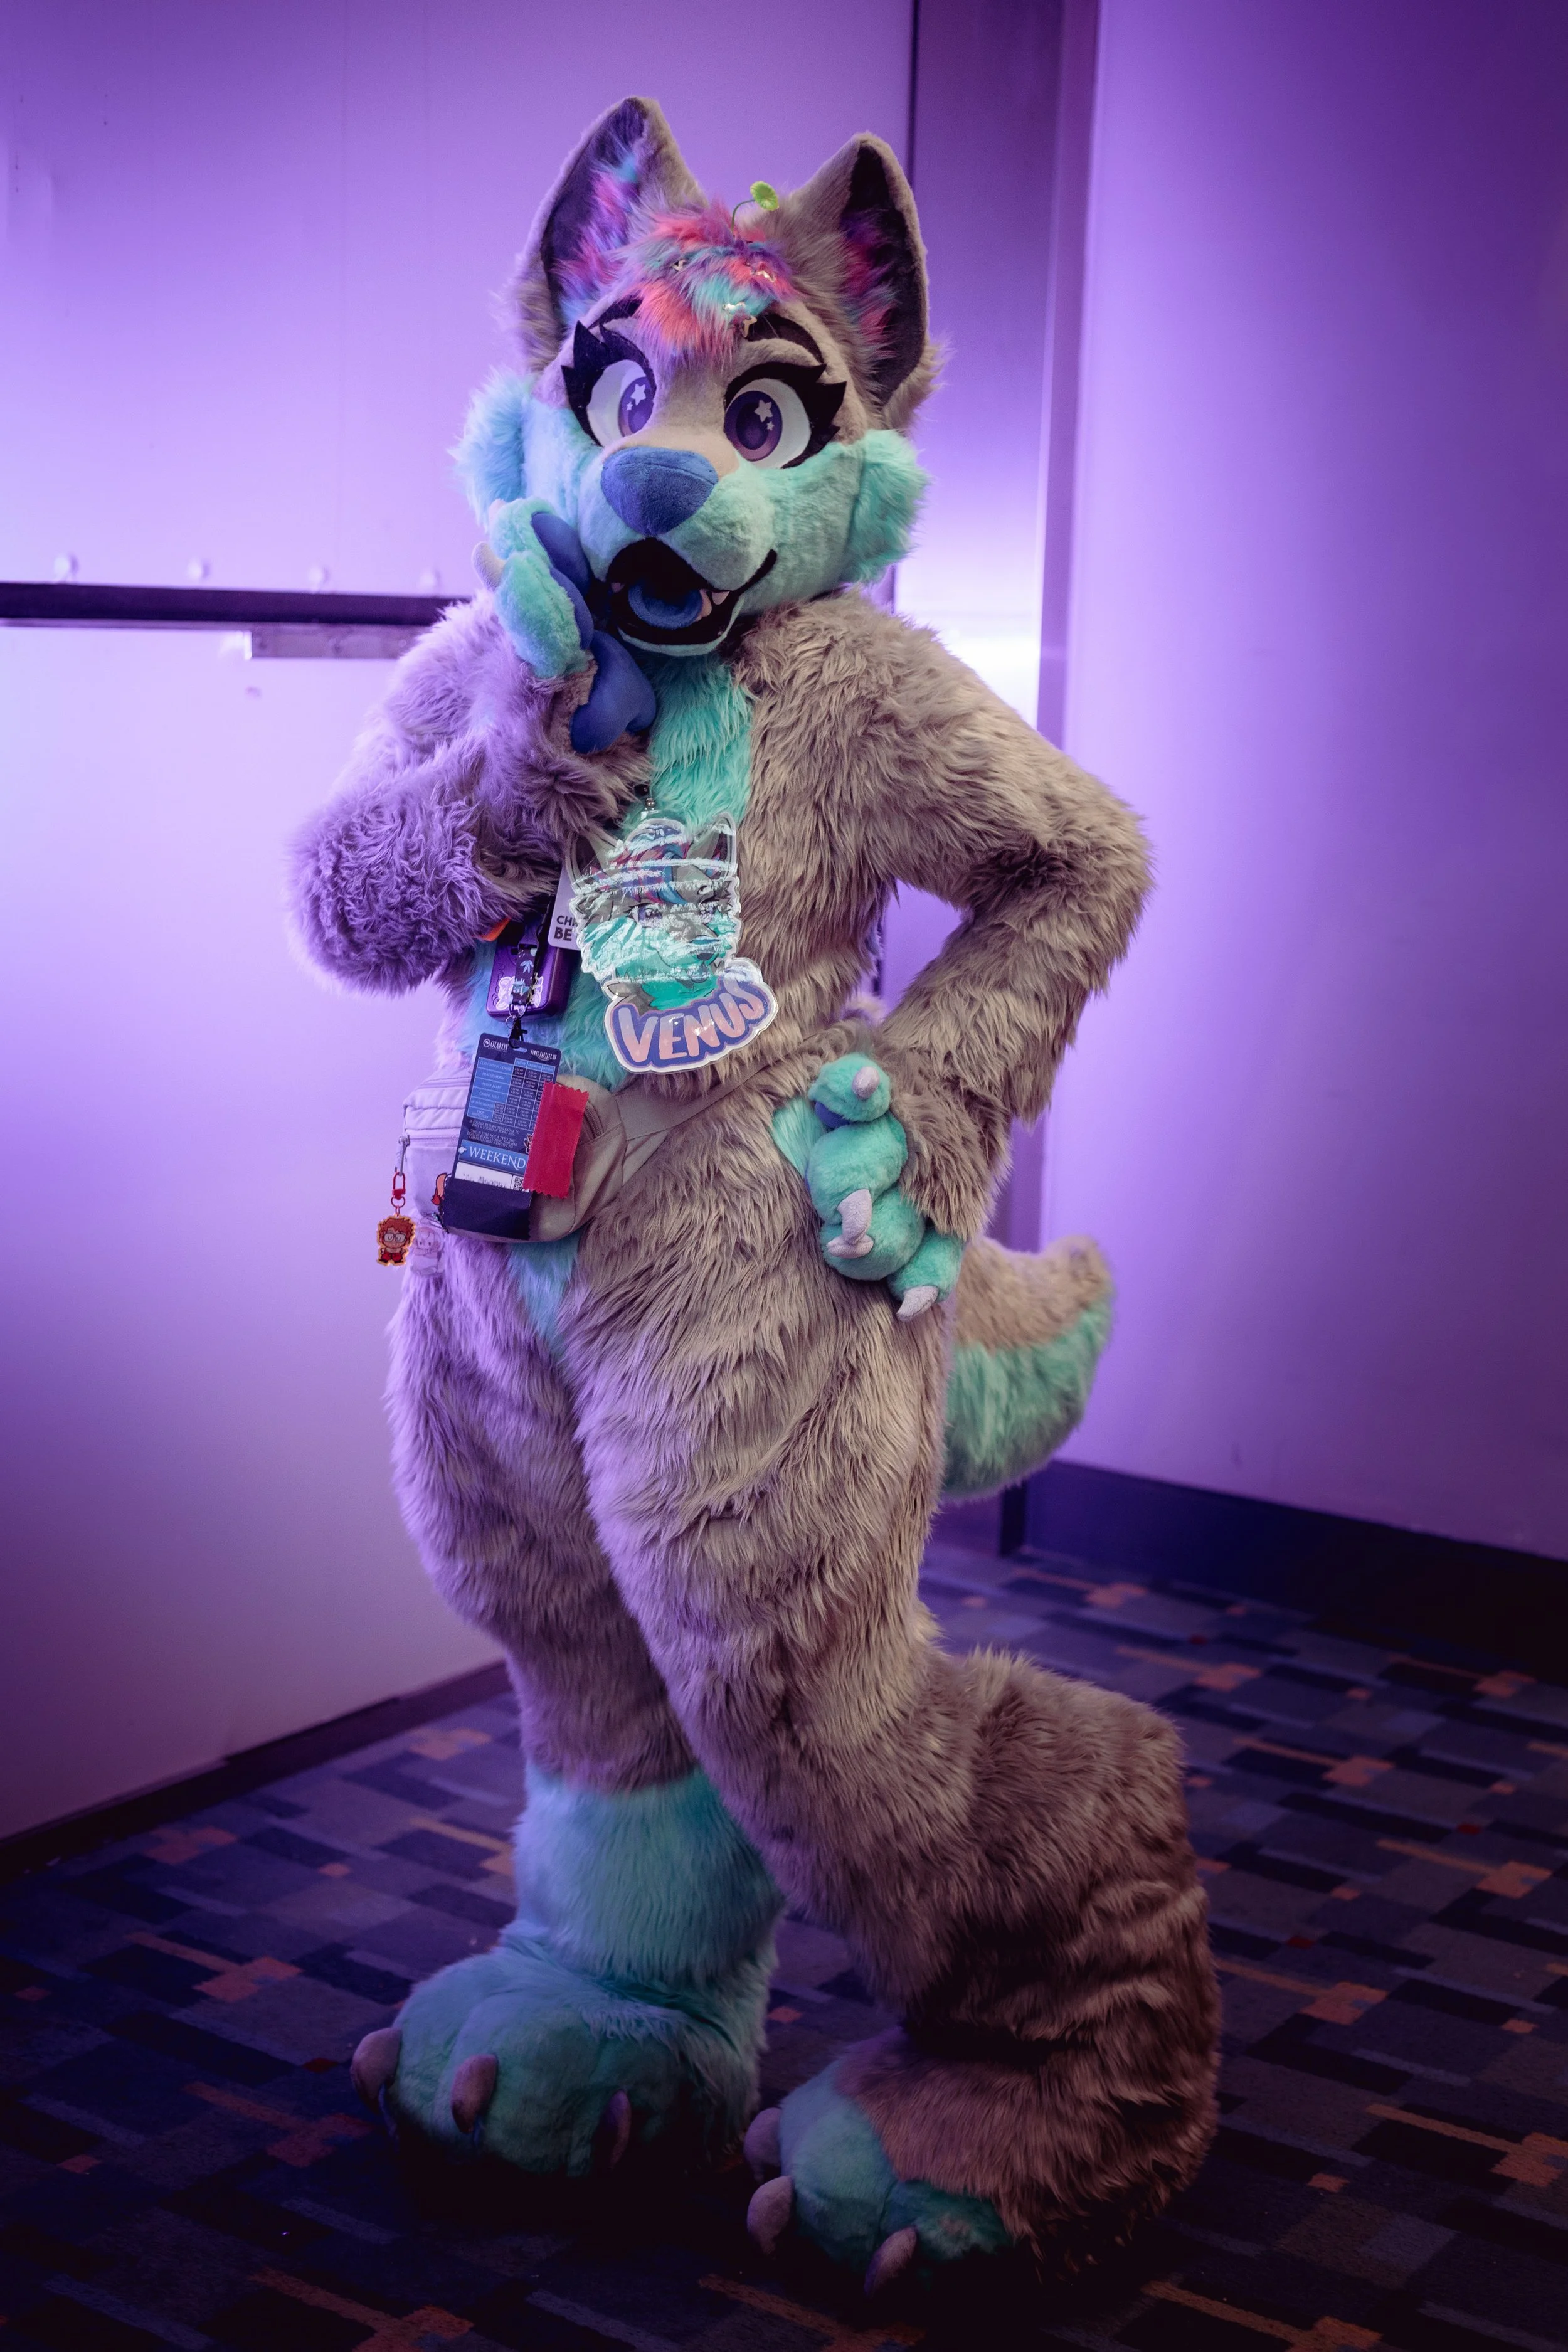
Cover, 5th and 6th image credits to Erik W Photography3rd and 4th image credits to Drifty Wolf Photography